.svg)
Requirements: Administrator · Email Signature Add-on
Create a New Signature
- Navigate to Email Signature → Signatures.
- Click Create Signature.
- Enter a name for the signature.
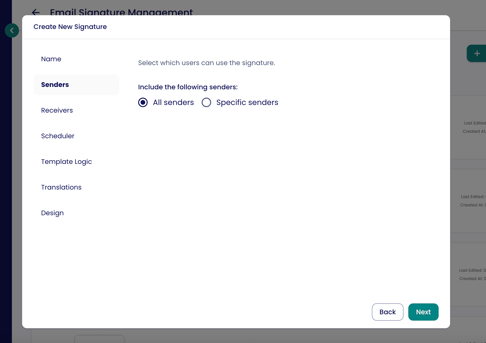
- Define who should use this signature:
- All Senders – the signature applies to all users in the team.
- Specific Senders – select specific units that should receive or be excluded from the signature.
- Define for which recipients the signature should be displayed – All, Internal Only, External Only, or Specific Email Addresses Only. More details can be found below.
- Optional: Enable the Scheduler if the signature should only be active during a specific time period—for example, before a trade show.
- Optional: Enable Selectable as Template if users should be able to manually select this signature in Outlook when the rule system has set another signature as the default.
- Optional: Enable Translations if the signature should be available in multiple languages.
- Click Design Signature to open the editor—or Save as Draft to design the signature later.
How to design the signature in the editor is explained in the article Design a Signature in the Editor.
Note: Once the add-in is already installed for your users, newly created or updated signatures and rules take effect immediately – unlike the initial rollout of the add-in itself, which can take up to 72 hours (see the article How to Set Up Email Signatures for MS Outlook for Your Team).
Recipient Types in Detail
Define for which recipients the signature should be displayed. Four options are available:
- All Recipients – the signature is inserted into every outgoing email.
- Internal Only – the signature is only inserted into emails sent to recipients with a verified company domain.
- External Only – the signature is only inserted into emails sent to recipients outside the verified company domains.
- Specific Email Addresses Only – the signature is only applied to specific recipient addresses or domains.
The distinction between internal and external recipients is based on your organization's verified email domains. You can see which domains are considered internal under Organisation → Domain Verification.
If you select Specific Email Addresses Only, you can specifically include or exclude addresses or domains.
- Include Email Addresses (optional):
Enter one or more addresses or patterns separated by semicolons. Use
*as a wildcard. Example:*@lemontaps.com; *@onmicrosoft.* - Exclusion Patterns (optional):
Enter patterns that should be excluded—for example:
*@volksbank-weschnitztal.de.
Important: The exclusion field cannot be filled out on its own. There must always be at least one value in the include field. If you want to include all addresses except specific exceptions, enter
*@*.*in the include field.
Manage Signatures
Order & Rules
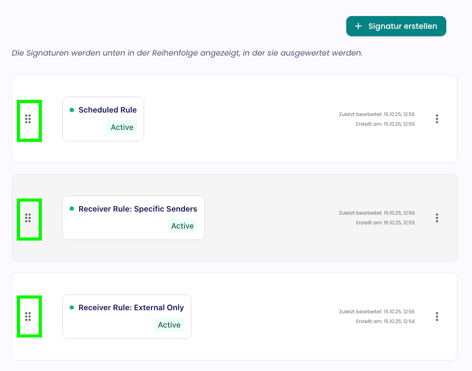
If you have created multiple signatures, the rule system automatically determines which signature applies to an email. The order of the signatures in the overview defines their priority: the system checks from top to bottom which signature matches the email first and applies that signature.
You can change the order at any time using drag and drop.
Example: The first signature is configured only for Unit A, while the second signature applies to all users. Users from Unit A receive the first signature, while all other users automatically receive the second signature.
Edit, Duplicate, or Delete a Signature
- To adjust the design of a signature, click directly on the signature card to open the editor.
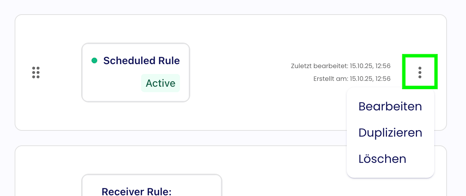
- To edit a signature's rules, click the three dots next to the signature.
- The three-dot menu also allows you to duplicate a signature—for example, to reuse the same design with different rules—or delete it.