.svg)
Requirements: Administrator · Email Signature Add-on
This article explains what happens inside the Email Signature Editor. If you have not yet created a signature, please read the article Create a Signature & Configure Rules first.
Select a Design Template
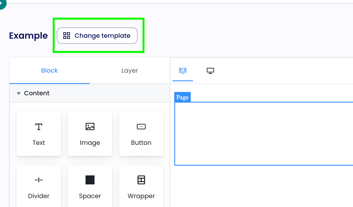
When creating a new signature, you will first be taken to the template selection before entering the editor. You can also switch templates later at any time in the editor using Change Template.
Important: Changing the template afterward deletes all existing changes in the editor and overwrites the template for all language versions of the signature. This action cannot be undone.
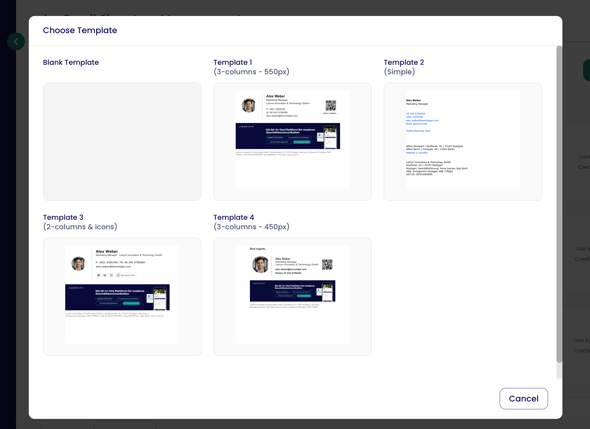
Four templates and one blank template are available. The templates differ in the number of columns and width—all are optimized for Outlook Web, Outlook Classic, and mobile devices.
Note: The more columns a template contains, the higher the risk that the signature may display incorrectly when emails are forwarded in some email clients. Outlook and other clients sometimes internally convert emails into a simplified format during forwarding, which can cause column layouts to shift. This behavior is outside of Lemontaps' control.
Editor Overview
The editor consists of three areas:
Block (left sidebar):
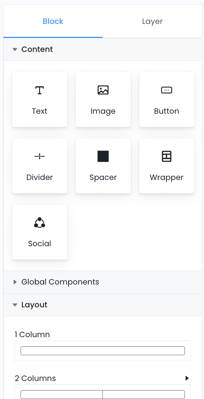
Here you can find all available content blocks that can be dragged and dropped into the workspace: Text, Image, Button, Divider, Spacer, Wrapper, and Social. Under Layout, you will also find different column arrangements—from one to four columns—to build the structure of your signature.
Layer (left sidebar)
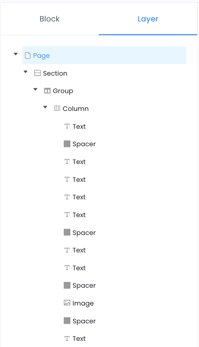
Under the Layer tab, you can view the structure of your signature as a tree view—from the page level through sections and columns down to individual text and image elements. This allows you to select specific elements even when they are difficult to click directly within the editor.
Configuration (right sidebar)
When you select an element, its settings appear on the right side. There, you can adjust properties such as padding, alignment, and other settings.
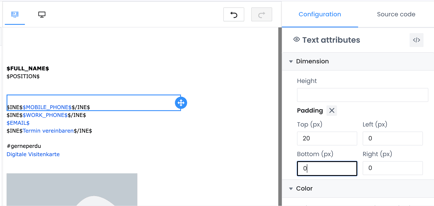
💡 For tips on creating technically clean templates that render correctly in Outlook Web, Outlook Classic, and on mobile devices, see the article Lemontaps Design Guide: Best Practices for Email Signatures.
Adjust Signature Size
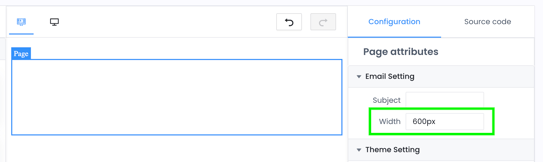
The width of the signature is defined in the page settings. In the editor, click on the white margin and make sure no text or image element is selected.
The page width does not correspond to the actual width of the signature but defines the maximum width of the inserted elements.
Recommended widths: 450–550 px. Signatures wider than 600 px may be cut off on mobile devices.
Set the Font
There are two ways to define a font:
Default Font (recommended):
Standard fonts such as Arial, Calibri, Verdana, or Tahoma are supported by most email clients and display reliably for recipients.
To set the font for the entire signature, navigate to Layers → Page → Configuration → Theme Settings. Click into the Font Family field, remove the current font, and once the field is empty, a dropdown with available standard fonts will appear.
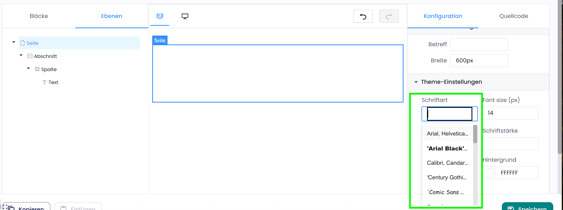
To change the font for a single text element only, navigate to Layers → Text → Configuration → Typography → Font Family.
Custom Font
You can also enter a custom font name. If the recipient does not have the font installed, the fallback font will be displayed. Always specify the font and fallback together.
Examples:
Poppins, sans-serif'Times New Roman', serif'MS Serif', 'New York', serif
If the font name contains spaces, place it in quotation marks.
Insert Variables
Variables ensure that the signature is automatically populated with each user's profile data, such as name, position, phone number, or email address.
To insert a variable:
- Click inside a text element in the editor.
- Select Insert Variable from the toolbar.
- Choose the desired variable from the list.
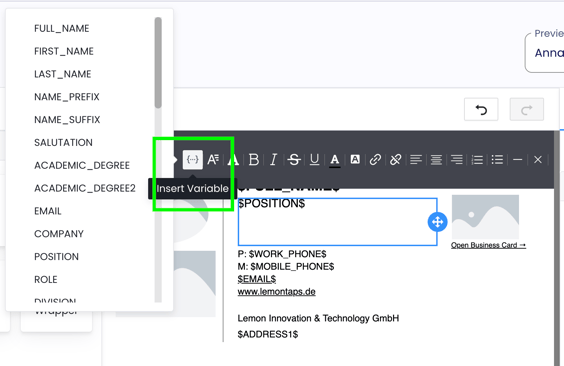
To see how the variables appear in the finished signature, switch to the preview.
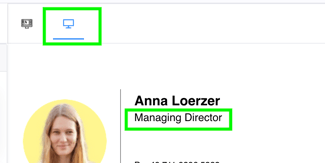
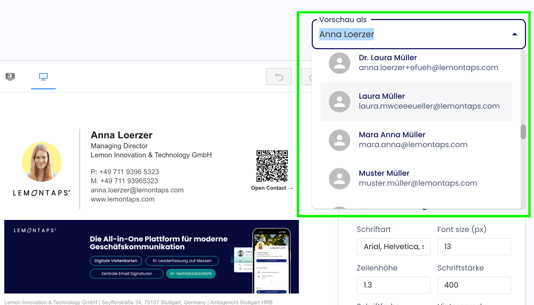
In the preview, you can select any user from your team using the dropdown menu and see how the template looks with their profile data. This is useful for ensuring that the design remains stable with varying name lengths, job titles, or missing fields.
Hide a Line When a Variable Is Empty
If a user has not provided a value—for example, a mobile phone number—the entire line can be hidden automatically. To do this, place the variable $INE$ at the beginning of the line and $/INE$ at the end.

Add a QR Code for the Digital Business Card
- Add an image element to the editor.
- Click the element and enter the QR code variable under Image Attributes.
- Choose between Online QR Code and Offline QR Code.
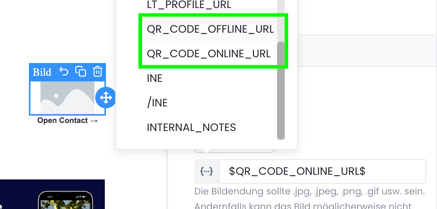
The QR code is not visible in the editor—it only appears in the preview.
Copy a Signature to Other Language Versions
If multiple language versions are enabled for your signature, you can copy the design from one language version to another without recreating it:
- Switch to the language version you want to use as the source.
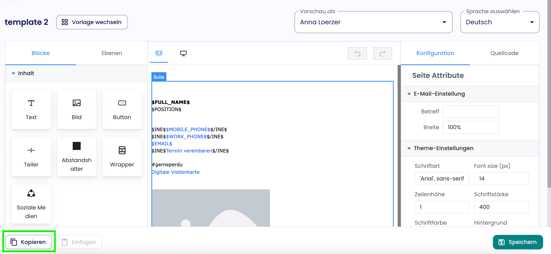
- Click Copy in the bottom left corner.
- Switch to the target language and click Paste.
If you want to use the same design with different rules—for example, for another user group—you can duplicate the entire signature in the template overview. For more information, see the article Create a Signature & Configure Rules.
Edit Source Code
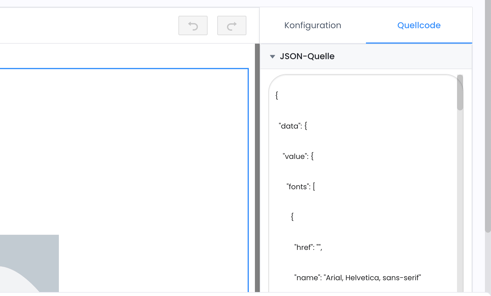
If you want to modify the design directly in code, click on the page or an element in the editor and select the Source Code tab. There, you can edit the JSON or MJML code directly.
Add Global Components
Global components are reusable building blocks, such as a company-wide legal disclaimer or a time-limited event banner. You create them once and add them to any number of signature templates. Changes to a component are automatically applied across all templates that use it.
For more information, see the article Use Global Components in Email Signatures.
FAQs
How can I change the color of the QR code?
You can customize the color under QR Code Design.
Are all default addresses displayed when using the "Default Attributes" variable?
Yes. If multiple default addresses exist, all default addresses will be displayed.